Key Tips for Constructing Block Retaining Wall Corners
Depending on its size, building a conventional retaining wall can be straight-forward (pardon the pun). However, integrating a corner into the retaining wall design can complicate the process and be viewed as a more cumbersome project for DIYers and professionals. On the other hand, the simplicity of building retaining wall corners may surprise you.
Constructing strong, secure corners for your retaining wall is critical to its structural integrity, therefore the building process is important. One of the core challenges of corners is that outside corners are traditionally one of the weakest points of a retaining wall. That means outside corners must be diligently planned and properly installed for long-lasting strength and durability. We’ll focus on the following elements of retaining wall corners:
- Choosing the Right Interlocking Block for Retaining Walls with Corners
- How to Make a Corner When Building a Retaining Wall
- Inside and Outside Retaining Wall Corners
- What is the Angle of a Retaining Wall Corner?
- Rounding the Corner of Your Retaining Wall
- How Do You Finish a Retaining Wall Corner?
Let’s explore the ins-and-outs of block retaining wall corners to help make them a less overwhelming aspect of your next retaining wall project.


Choosing the Right Interlocking Blocks for Retaining Walls with Corners
Building a corner for your retaining wall begins with the purpose of your wall and choosing a block to build your retaining wall with. Selecting the appropriate block for corners will have a major impact on the wall’s ease of installation and capabilities. Retaining wall systems designed for freestanding applications, like StoneLedge, may have different considerations than corners that retain soil, such as CornerStone 100 blocks.
Choosing the right block will help determine whether the blocks will reach the height of your desired wall, or whether adjustments will need to be made to blocks or the original wall design. The retaining wall system’s setback also helps offset and account for pressures of soil behind the wall. Most engineered retaining wall systems, including CornerStone 100, have multi-sided units designated as corner blocks to create clean 90° angles.


How to Make a Corner When Building a Retaining Wall Feature
Correct measurements. Once your preferred block is selected, measure and mark the property’s retaining wall length and the location of any corner(s). Be sure to do so twice or thrice to ensure accurate measurements and avoid challenges once construction begins.
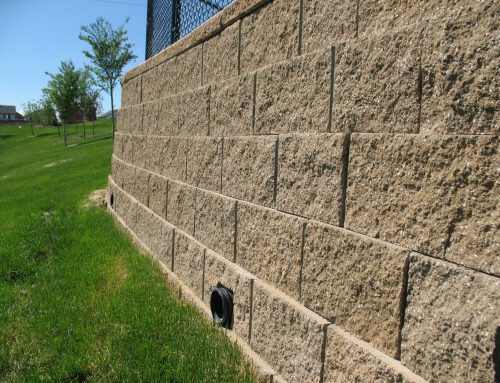
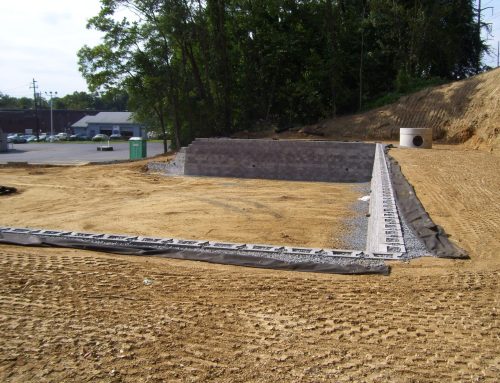
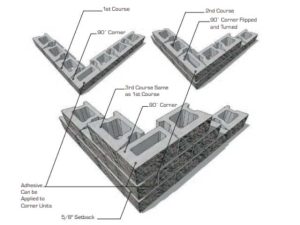
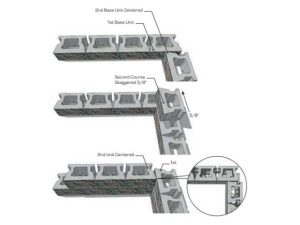
Preparing and Laying Base Course. Once the leveling pad is installed (view these installation guides for leveling pad construction details), it’s time to lay the first course of your retaining wall and ensure the base course is level. If the retaining wall system has a corner unit, make sure to use it for outside corners of your retaining wall’s base course. Place the second course of blocks in a running bond pattern to enhance aesthetics and for proper alignment.
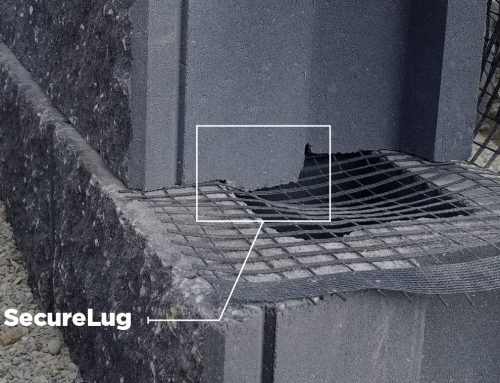
Secure the Corner Blocks. The corner unit of the second course should be flipped and placed perpendicular to the corner unit of the base course, repeating this running bond pattern and alternating the perpendicular placement of corner units. When securing corner blocks, adding a thick bead of heavy-duty adhesive below the blocks is optional but can offer a stronger bond. View this example here.


Inside and Outside Retaining Wall Corners
Will your retaining wall include an inside corner or outside corner? A comparison of building inside corners and outside corners for retaining walls offers important insights for each.
Building an inside corner with retaining wall blocks
There is less pressure on retaining wall inside corners, this a typically a structurally strong area
- Inside corner installations do not require multi-sided corner blocks
- Standard retaining wall blocks can be strategically placed to form a secure inside corner
- Adhesive is not needed for the abutment of perpendicular blocks for insider corners
Building an outside corner with retaining wall blocks
- Outside corners bear the brunt of pressures from behind the wall, they are known to be among the weakest areas of a retaining wall
- Each course for 90° outside corners should have alternating multi-sided corner units to enhance structural strength
- For extra bonding, heavy-duty adhesive below each block is optional
- Cutting blocks to fit an angle is possible but must be done properly to ensure structural integrity of the wall is not compromised, the approval of a local engineer is strongly recommended
Nearly all of today’s engineered retaining wall systems are strength tested and have super helpful step-by-step installation guides. To construct safe, secure retaining walls, take advantage of these free online resources.


What is the Angle of a Retaining Wall Corner?
A common question when building retaining wall corners is “What angle should my retaining wall corner be?” Your retaining wall can theoretically have any degree angle you like for outside corners, some angles are just far more secure and easier to accomplish. Most inside and outside retaining wall corners are 90°, as the purpose of a corner block is to efficiently create that 90° right angle while conserving the greatest wall strength. Most reputable engineered SRWs have designated blocks for outside corners to provide more longevity and aesthetic value.
Corners can be adjusted and customized for various wall designs by cutting the block with standard cut-off saws. These designs are typically constructed by professional contractors with the assistance of local engineers to ensure the wall design remains safe and strong. Incorrectly cut blocks or improper installation can lead to increased risk of retaining wall failures, costing more time and money to repair.


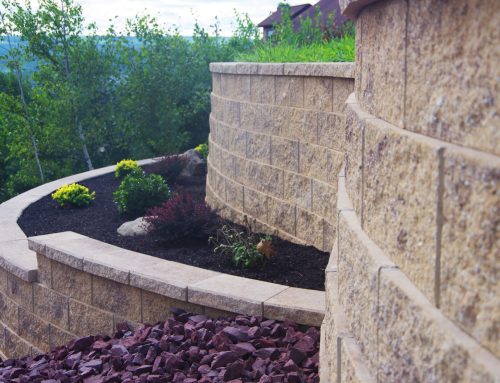
Rounding the Corner of Your Retaining Wall
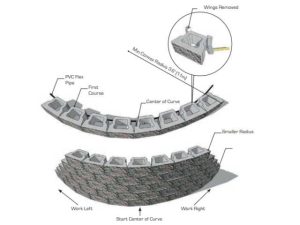
Does a softer, curved outside corner better suit your property than a sharp 90° corner? Some retaining wall blocks make curved outside corners really easy to install thanks to the block design. For instance, CornerStone 100 retaining wall blocks have angled sides with removable wings at the back of the block. By using a mallet to knock off the removable wings, the blocks can then be placed flush together to create a natural convex (outside) or concave (inside) curve.
Savvy block design features like these angled sides and removable wings that cater to curve features circle back to choosing the right block. Some blocks are a rectangular shape and require cutting multiple blocks in order to achieve that same rounded retaining wall corner. Other blocks are inherently designed with purpose to make installations smoother and more efficient for the end user, regardless of their retaining wall building experience.


How Do You Finish a Retaining Wall Corner?
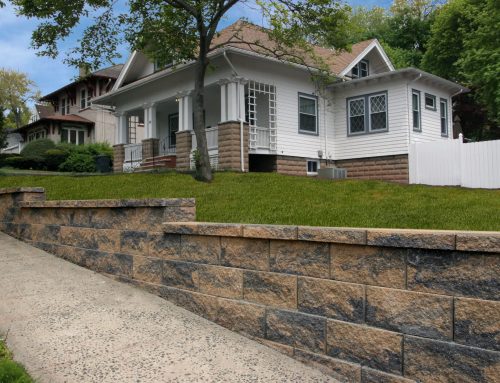
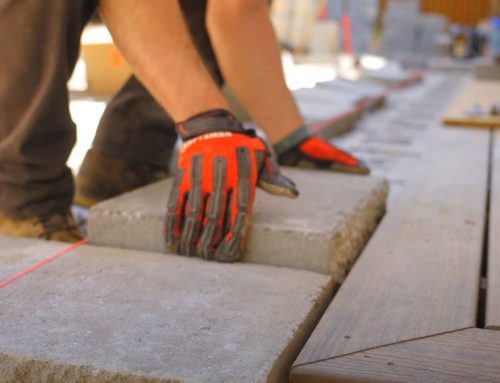
An important, overlooked aspect of retaining walls are the cap units. For small blocks and segmental retaining walls, caps protect the retaining wall and deliver a crisp, clean aesthetic to finish off the project. Cap units are placed atop the highest course to complete straight and curved retaining wall corners. Curved corners do require the cap units to be cut and tailored for its unique angles.
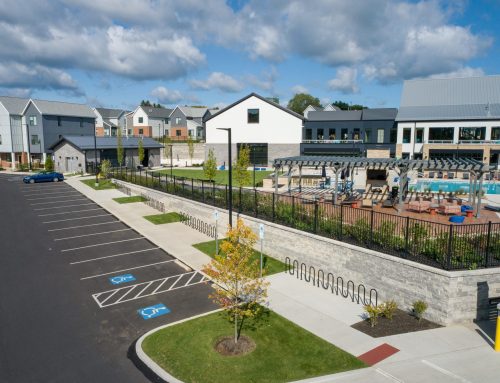
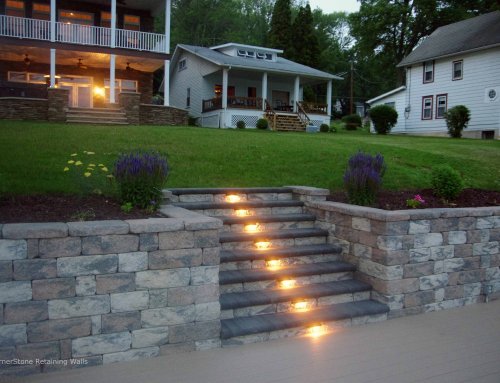
Cap units of retaining wall systems prevent water damage behind the wall too, which significantly enhances the structure’s longevity. Hardscape lighting can be positioned under the cap units to brighten up areas along the retaining wall, commonly for walkways and parking areas.


Wrapping Up Retaining Wall Corners
The keys to planning and building secure retaining wall corners naturally depend on its purpose and the blocks used for construction. How much pressure or loading will be on the wall’s corners, an alternating running bond pattern with heavy-duty adhesive and minimizing the cutting of blocks (depending on the wall design) will help build strong, long-lasting retaining wall corners.
While inside corners are typically quite secure, outside corners of retaining walls do require more attention to detail and proper installation due to their structural importance. Looking for more insight and step-by-step guidance to build retaining wall corners? These comprehensive installation guides outline excellent installation techniques for their trusted engineered retaining wall systems, tailored toward DIYers and contractors.
View CornerStone’s detailed installation guides here or check out the CornerStone 100 retaining wall system’s step-by-step installation videos here.