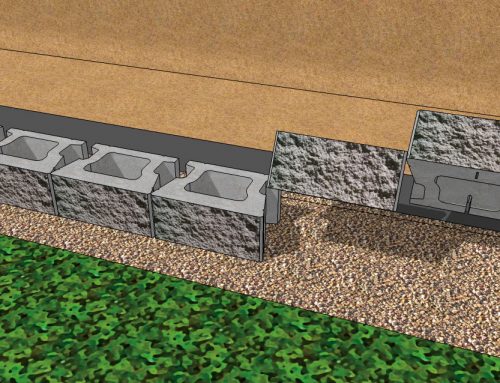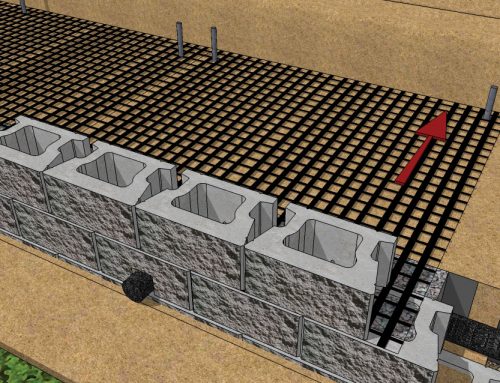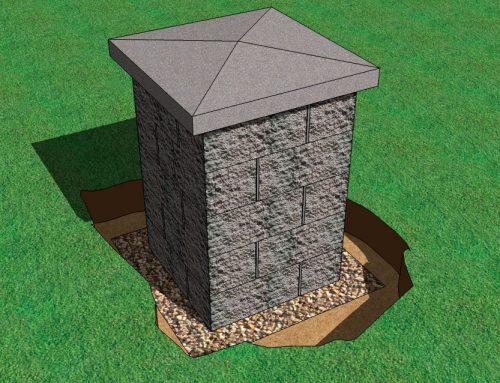

Pillars add a finishing touch of elegance to any StoneLedge™ or StoneVista™ wall project. They can be used to create distinguished entrance ways to any residence or business and the unit’s simple design greatly simplify the placement of lighting in the pillars. This section provides on how To build StoneLedge StoneVista Pillars with simple instructions.

Step 1: Levelling Pad
- Ensure that you have properly installed your base levelling pad. For a proper leveling pad concrete or Well Graded Gravel (also known as Road Base Aggregates) can be used
- It is recommended to be a minimum of 6 – 8″ thick and levelled front to back and side to side
- Once completed, place and level the StoneLedge™ or StoneVista™ unit blocks as shown in the diagram
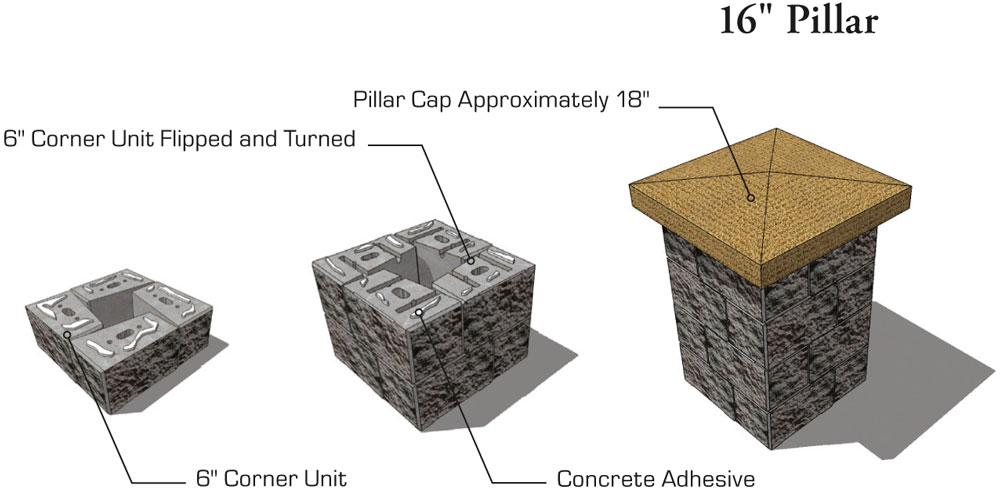
Step 2: Additional Courses
- Flip and turn the second course corner units upside down to create an overlapping bond
- Place second course of the StoneLedge™ or StoneVista™
corner units directly on top of the
first course - Clear Crush Drain Gravel (Angular Aggregates free of fines) should be placed in
the cores and middle of pillar - (concrete core filling optional) use a dry concrete mix to prevent leaching of cement
- Concrete Adhesive should be applied to all units to ensure course to course interlock
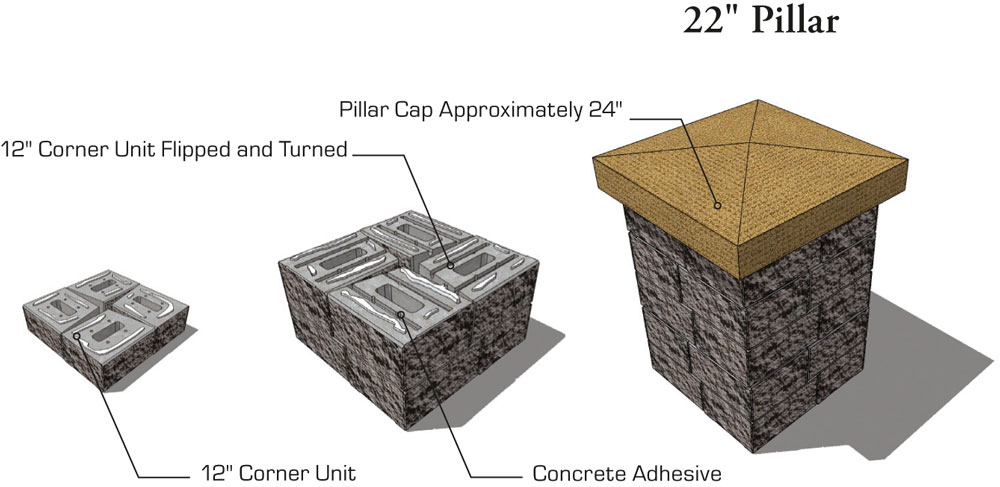
Step 3: Additional Courses
- Repeat Step 1 and Step 2 until desired height of pillar or pier has been reached
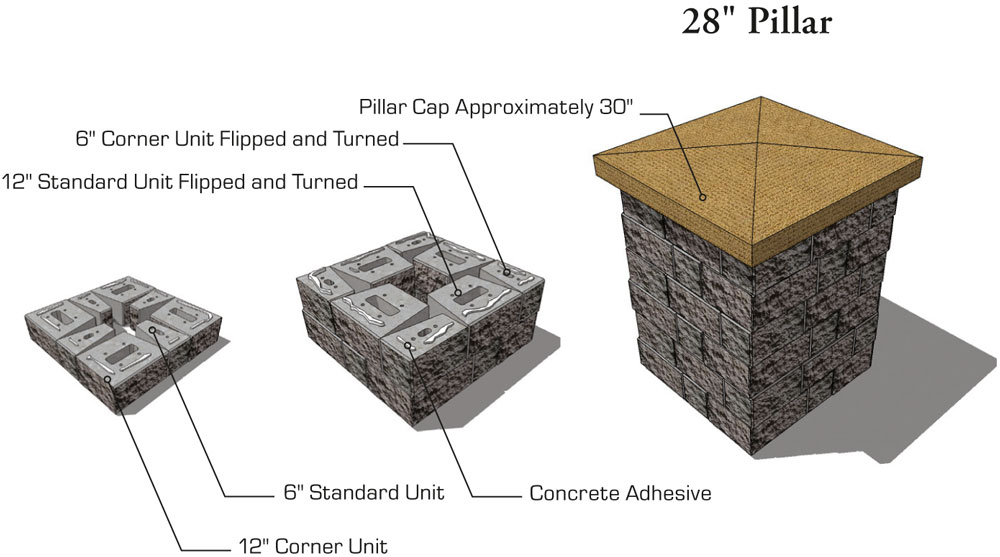
Step 4: Completion
- Complete the pillar with a Pillar Cap
- Secure the Pillar Cap with a concrete adhesive
More StoneLedge Installation
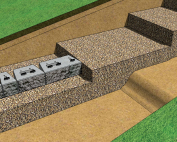
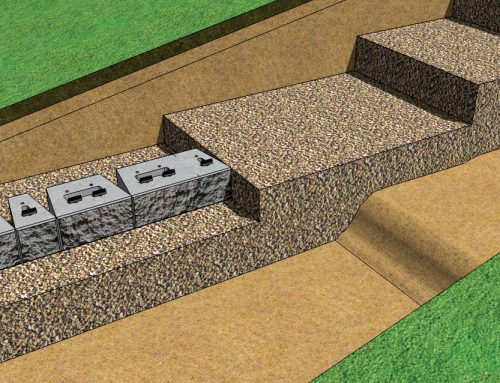
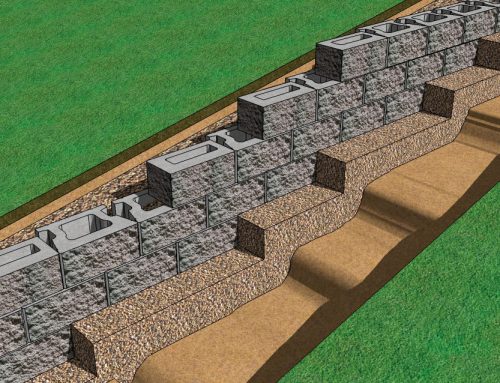
StoneLedge Base Elevation Change
Base elevation changes are often required and can be problematic if not planned properly. Correct construction and professional completion of these wa [...]