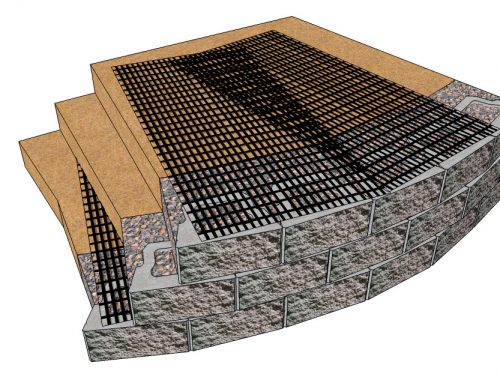
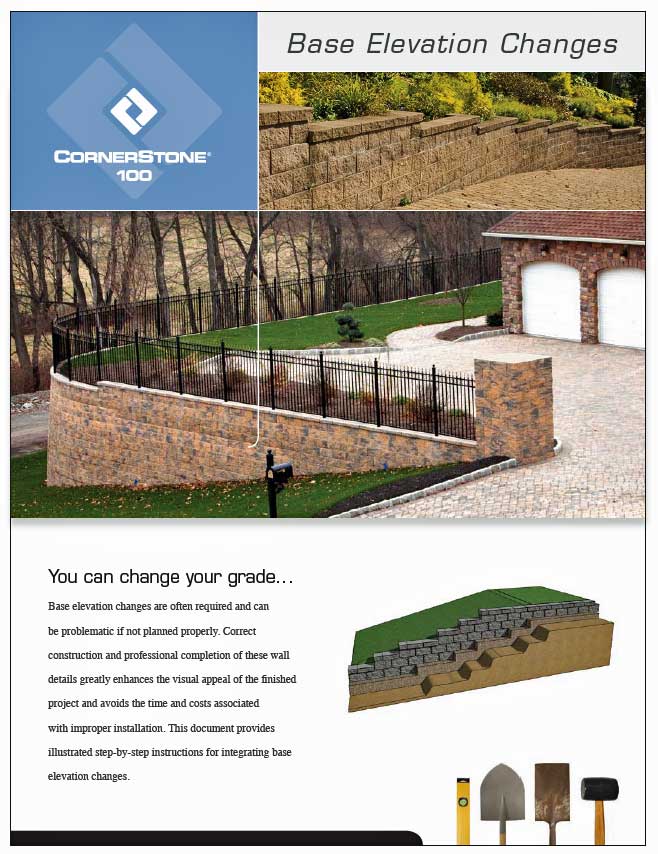
CornerStone Retaining Wall Block Installation For Base Elevation Change are often required and can be problematic if not planned properly. Correct construction and professional completion of these wall details greatly enhances the visual appeal of the finished project and avoids the time and costs associated with improper installation. This document provides illustrated step-by-step instructions for integrating base elevation changes.
![]()
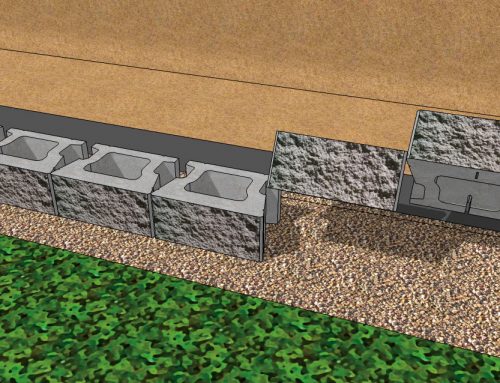
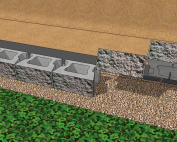
Step 1: Retaining Wall Base Elevation Change
- The top of the retaining wall installed base unit will be used to establish the step up gravel leveling pad elevation
- Make sure to backfill and compact the gravel in and around the last unit of the first course
- Finished grade of the leveling pad should be an 1/8″ to 1/4″ above top of first course units to allow for a small amount of settlement
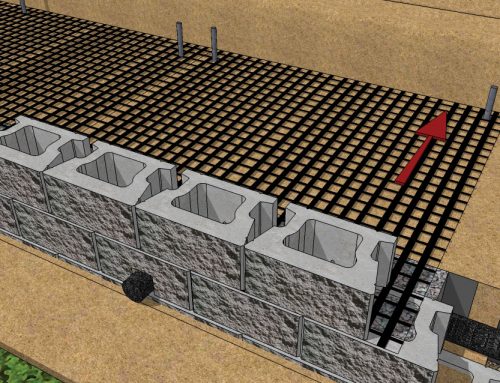
- Repeat the above screeding steps on the second elevation gravel
leveling pad - Place the first unit on the second course at a half bond on top of last & second last of the first course units.
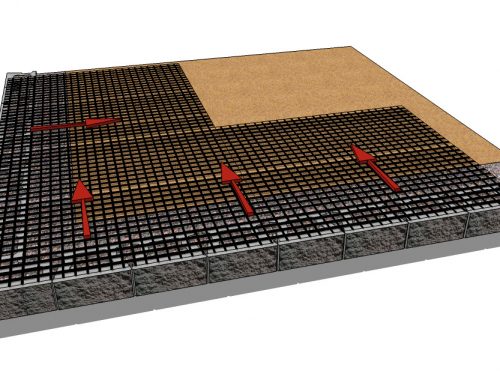
- The two SecureLugs will fit into the hollow cores of the two units below. To align the wall, place a string line at the back of the units for a straight wall or place a PVC pipe for a curved wall
- Pull upper unit forward to engage and align units
- The batter or set back will be 5/8″/unit (4.5 degree or 1″/vertical foot)
- Place the second unit half on the last unit and half on the second gravel levelling pad. Ensure that the SecureLug is removed on the levelling pad side of the unit


More CornerStone 100 Installation
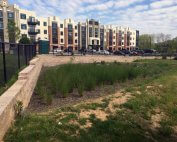
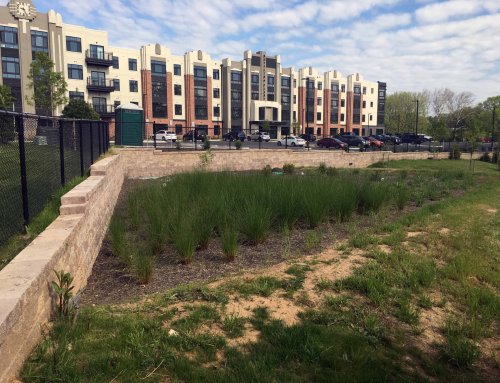
Bioretention Retaining Walls at Bottling Plant Apartments
Location Frederick, MD, USA Total CornerStone Retaining Wall Blocks 6,288 sq. ft. (584 sq. m.) CornerStone Manufacturer York Building Produ [...]
CornerStone 100 Gravity Retaining Wall Installation
Gravity (SRW) Cornerstone retaining wall systems are structures lower in height that use the CornerStone® unit weight combined with gravel core infill [...]

CornerStone 100 Geogrid Wall
Creating a CornerStone® reinforced retaining wall system, involves the use of geogrids for reinforcement. Cornerstone geogrid retaining walls 3.5ft (1 [...]
Retaining Wall Curve CornerStone 100
Retaining Wall Curve details are often required for specific sites and can be specified by designers and engineers. Correct construction and professio [...]
Retaining Wall Corner Installation
Retaining wall corner installation details are often required for specific sites and can be specified by designers and engineers. Correct construction [...]
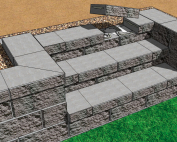
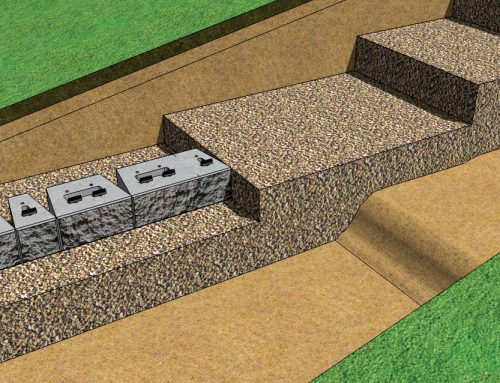
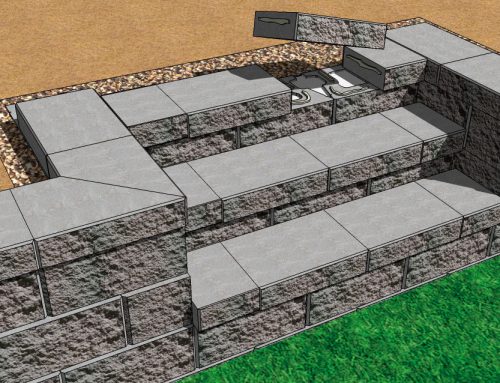
CornerStone 100 Stairs
Are you looking to create a visually striking and unique set of stairs in a wall project? Look no further than CornerStone® 100 stairs. These stairs a [...]

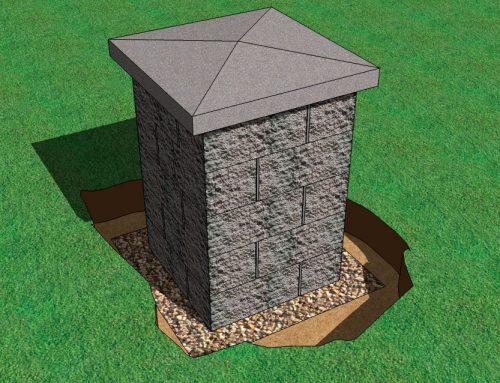
How To Build StoneLedge StoneVista Pillars
Pillars add a finishing touch of elegance to any StoneLedge™ or StoneVista™ wall project. They can be used to create distinguished entrance ways to an [...]
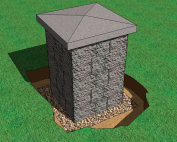
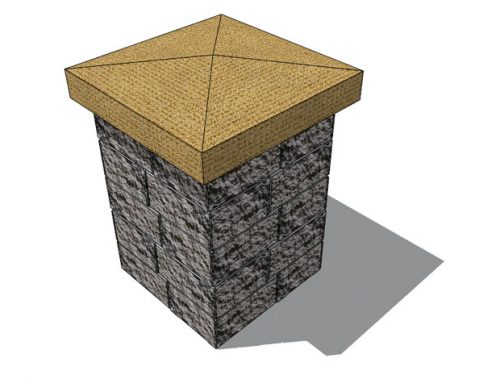
CornerStone 100 Pillars
Pillars add a finishing touch of elegance to any CornerStone® wall project. They can be used to create distinguished entranceways to any residence or [...]